Homework 3 - Vehicle
This assignment is due by September 13, 2012 by 11:59pm.
Part I - Go Go Gadget Car!
For this assignment, you are to create a OpenGL/GLUT program that contains a vehicle drawn in 3D. Be sure to use the Basic 3D Setup program as the basis of your program. The user will be able to move the vehicle forward and change its heading, as well as control a camera which rotates around the vehicle. The vehicle itself will be constructed of GLUT primitives and GLU quadrics in a hierarchical fashion, like the previous assignment. The vehicle must have some level of animation when moving and may also a different form of animation when stopped.
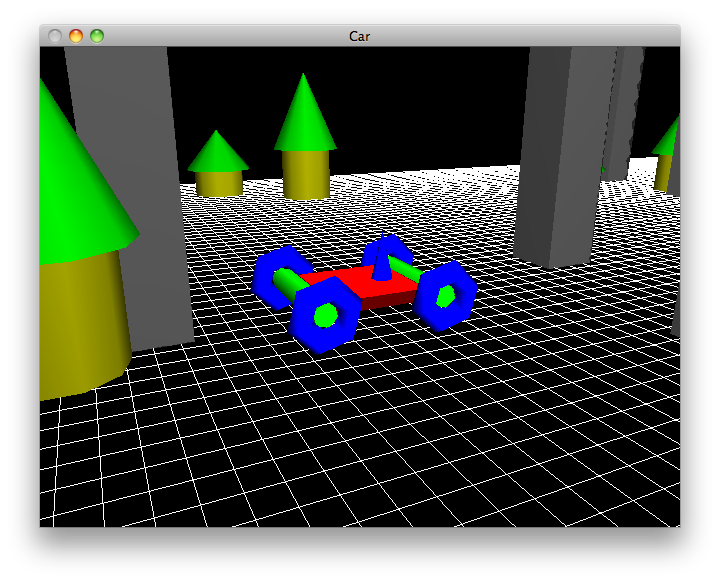
Out for a Sunday drive through the city/park.
Your vehicle should have a clear front and back which are aligned with its current heading. Pressing ' w' will move the vehicle forward along the heading and pressing ' s' will move the vehicle backwards along the heading. Pressing ' a' or ' d' should turn the vehicle's heading left or right respectively. The user must be able to control an arcball camera with the mouse that is centered around the vehicle (looking at the vehicle's current X, Y, Z). In other words, the user can change theta and phi to rotate the camera around the vehicle as the vehicle moves and the vehicle will stay in the center of the screen. Additionally, there must be some other objects in the scene so that we can see the vehicle moving. At a minimum, this should include a grid of line strips and additionaly can be as sophisticated as a city or forest. Your vehicle should not be able to move off the grid (similar to your creature in HW2 not being able to move off screen). Bounds checking should be performed to keep the vehicle in its world.
Be creative! Your vehicle does not need to be a car, but any type of transportation device (wagon, helicopter, plane, scooter, rocketship, etc). It would be a wise idea to have a function drawVehicle() that does all of the hierarchical drawing for your vehicle. You will be using this vehicle again in future assignments.
Part II - First-Person Viewport
This section is extra credit for students enrolled in CSE40166
and is required for students enrollred in CSE60166.
Using viewports, render a first-person view from the perspective of your vehicle, and overlay it on top of the normal 3D view. Your viewport may occupy any portion of the space on the screen; you could make the viewport split-screen style or have it occupy a corner of the screen like a mini-map. In order to receive full credit, you MUST have multiple objects making up a scene (i.e., boxes of different size as a city, cones stacked on top of cylinders for trees, etc.). In other words, the scene must be more complicated than just a grid for the ground.
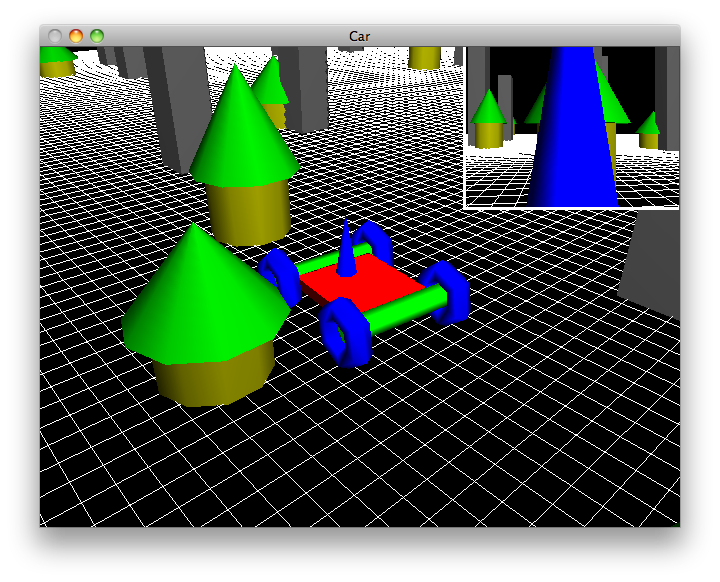
Watch out for that tree!
Part II.A - MultiCamera Viewport
This section is extra credit for all students.
In addition to the viewport camera showing a first-person rendering, allow the user to toggle between different types of mini-cams. Below is a list of possible mini-cams that can be displayed in the viewport:
- First-Person Cam: The default view looking from the point-of-view of the vehicle.
- Sky Cam: A camera positioned directly overhead the vehicle and looking straight down. The camera must follow the vehicle and turn with the vehicle so that the vehicle is always pointing forward (towards the top of the window).
- Third-Person Cam: A camera that is located just behind the vehicle and looking along the vehicle's heading. The camera must follow the vehicle and stay a fixed distance behind the vehicle.
- Reverse Cam: Similar to the third-person cam but instead is positioned in front of the vehicle and looking backwards along the vehicle's heading.
- First-Person Movable Cam: Position as described by the first-person cam above and the user can control the direction of view.
The user should be able to toggle between any available mini-cams by pressing the 1-9 number keys. At least two cameras beyond the first-person cam (#1) must be implemented.
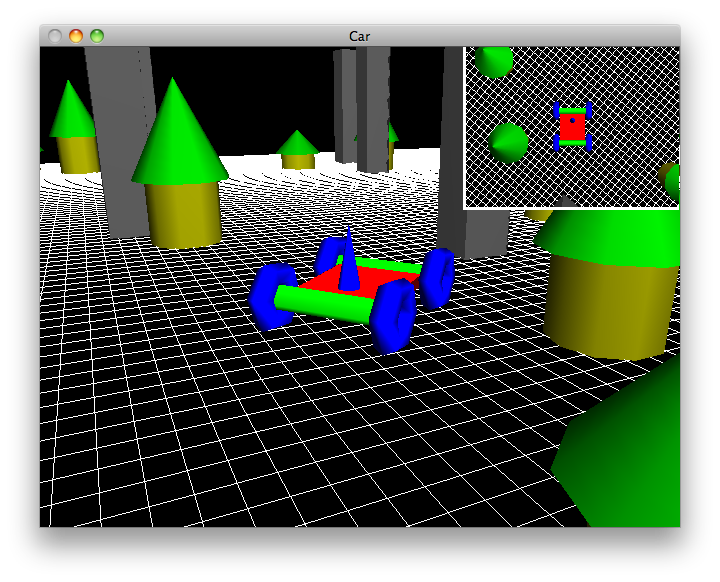
Today's aerial coverage brought to you by Goodyear.
Part III - Website
Update the webpage that you submitted with HW2 to include an entry for this homework assignment. As usual, include a screenshot (or two) and a brief description of the program, intended to showcase what your program does to people who are not familiar with the assignment.
Part IV - Questions
Briefly answer the questions below. Include your response in the README.txt file.
- What effects can be achieved by varying the up-vector for our camera?
- When usng a perspective projection, it is very easy to achieve a "zoom" effect by changing the radius to our lookAt point. Objects that are closer will appear larger, so we will make the the object closer to our camera and it will appear bigger. This does not hold with an orthographic projection. It does not matter how close we are to our lookAt point, the ratio of dimensions will always be the same. How can we achieve a similar "zoom" effect when using an orthographic projection?
Documentation
With this and all future assignments, we expect you to appropriately document your code. This includes writing comments in your source code - remember that your comments should explain what a piece of code is supposed to do and why; don't just re-write the code says in plain English. Comments serve the dual purpose of explaining your code to someone unfamiliar with it and assisting in debugging. If you know what a piece of code is supposed to be doing, you can figure out where it's going awry more easily.
Proper documentation also means including a README.txt file with your submission. In your submission folder, always include a file called README.txt that lists:
- Your Name / netID
- Homework Number / Project Title
- A brief, high level description of what the program is / does
- A usage section, explaining how to run the program, which keys perform which actions, etc.
- Instructions on compiling your code
- Notes about bugs, implementation details, etc. if necessary
Grading Rubric
Your submission will be graded according to the following rubric:
|
| 10% | Vehicle must be constructed in a hierarchical fashion. Vehicle MUST be broken down into function calls that handle smaller components. |
| 10% | Some portion of the vehicle is animated while moving (wheels spinning, turret rotating, etc.). It can also be animated when still, but some aspect of animation must be keyed to the movement. |
| 10% | User must be able to move the vehicle forward and backwards along its heading with the keyboard. Vehicle stays on the grid and cannot move beyond its boundaries. |
| 10% | User must be able to change the vehicle's heading with the keyboard. |
| 5% | Vehicle must rotate appropriately with heading change. |
| 5% | There must be some "scene" surrounding the vehicle to provide a sense of motion when the vehicle moves. This must include a grid and possibly a collection of decorative objects. |
| 5% | Vehicle must use different colors for different parts. |
| 5% | Vehicle must be comprised of 3D GLUT primitives / GLU quadrics. |
| 10% | The camera must follow an arcball camera model, have the vehicle as its look-at point, and must move with the vehicle. |
| 10% | The user must be able to correctly control the angles of the camera with the mouse by holding the left mouse button and dragging. |
| 10% | The user must be able to correctly zoom in and out by holding the right mouse button and dragging. |
| 2.5% | Questions from Part IV are answered and included in the README.txt file. |
| 5% | Submission includes source code, Makefile, and README.txt.
Source code is well documented. Webpage named <afsid>.html submitted and updated with screenshot from latest assignment. |
| 2.5% | Submission compiles and executes in the lab machine environment. |
Part II Grading Rubric
- For students enrolled in CSE40166: This section will count as an additional 1% of your final course grade, with the 1% being broken down as follows.
- For students enrolled in CSE60166: This section will count as an additional 50 points, with the 50 points being broken down as follows.
|
| 20% | The viewport is drawn correctly for the secondary display. |
| 20% | The viewport for the original display is not adversely affected by the secondary display's viewport (i.e. viewport is reset properly, there are no related bugs). |
| 20% | The user must be able to render the scene from a secondary virtul camera. |
| 20% | The secondary view must be a camera attached to the vehicle, whose orientation is fixed to the vehicle. |
| 20% | The scene must be more complicated than a single ground plane; it must include multiple objects scattered around to give a sense of motion as the vehicle navigates. |
Part II.A Grading Rubric
- For students enrolled in CSE40166: This section will count as an additional 0.5% of your final course grade, with the 0.5% being broken down as follows.
- For students enrolled in CSE60166: This section will count as an additional 1% of your final course grade, with the 1% being broken down as follows.
|
| 25% | The user can toggle between additional virtual cameras that are displayed in the viewport. |
| 75% | At least two additional cameras beyond the first-person camera are implemented. |
Submission
Please update your Makefile so that it produces an executable with the name hw3. When you are completed with the assignment, submit the source code, Makefile, and READEME.txt to the following directory:
/afs/nd.edu/coursefa.12/cse/cse40166.01/dropbox/<afsid>/hw3/
Similarly, title your webpage <afsid>.html (e.g. jpaone.html) and submit it to:
/afs/nd.edu/coursefa.12/cse/cse40166.01/dropbox/<afsid>/www/
Place any screenshots or other images used on the webpage in:
/afs/nd.edu/coursefa.12/cse/cse40166.01/dropbox/<afsid>/www/images/
This assignment is due by September 13, 2012 by 11:59pm.
|